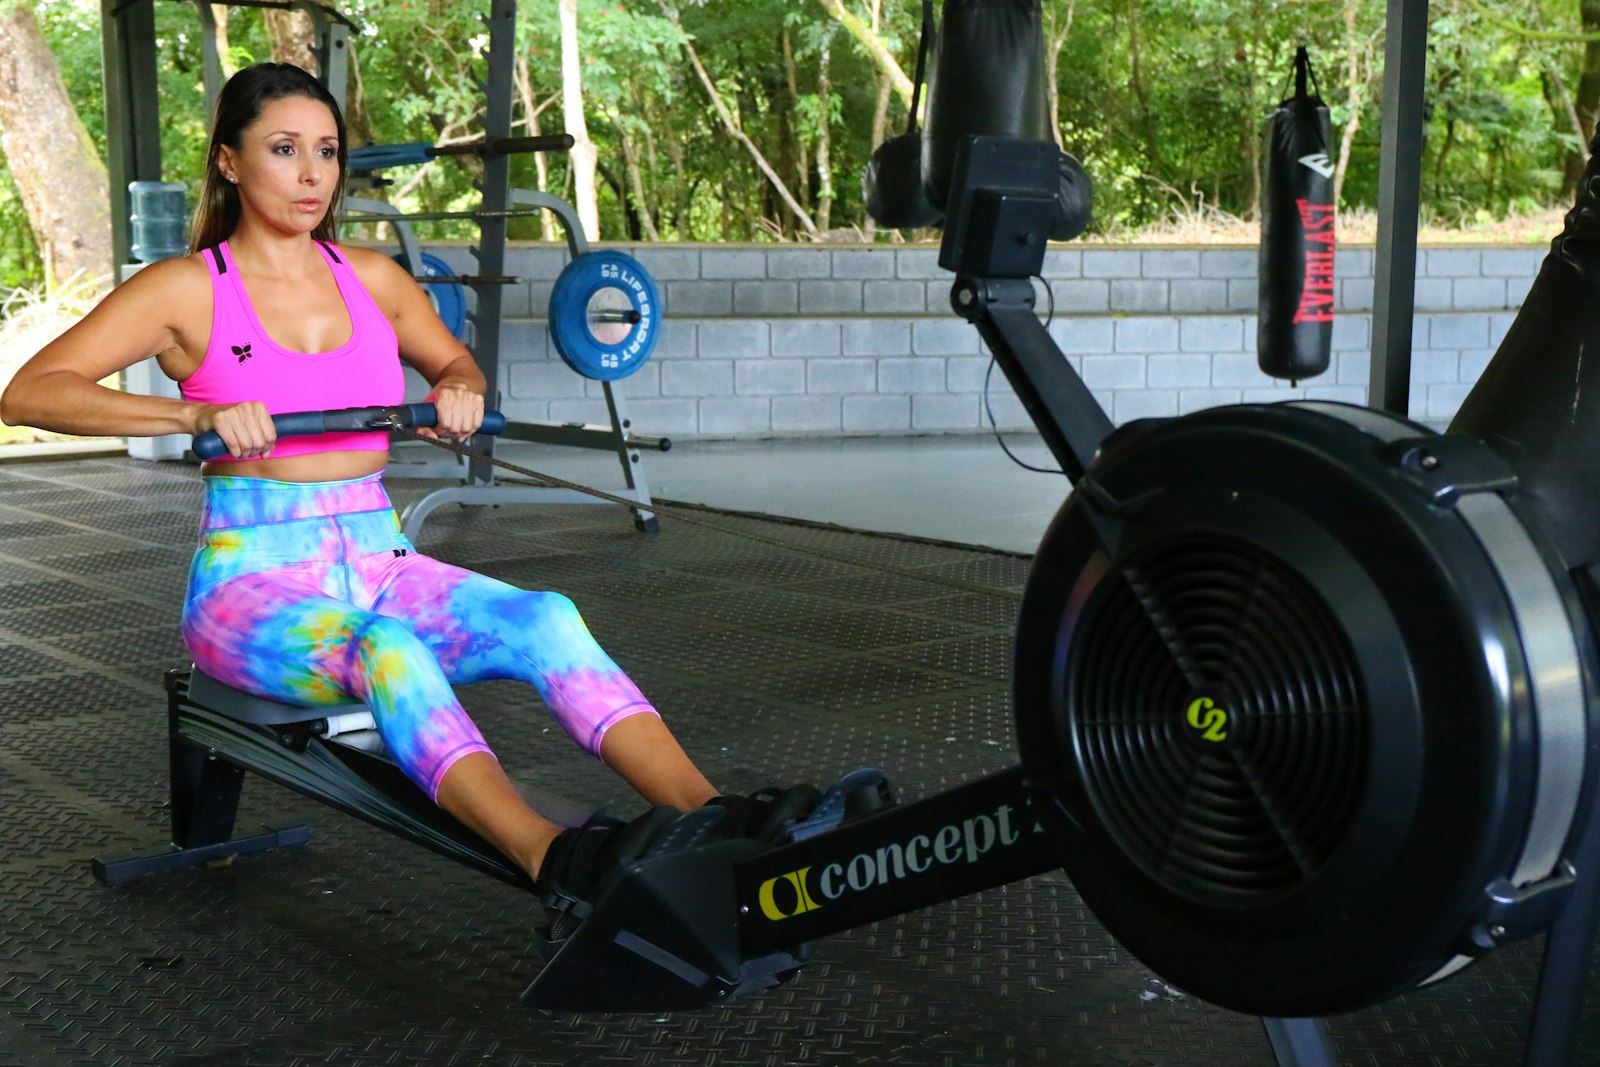


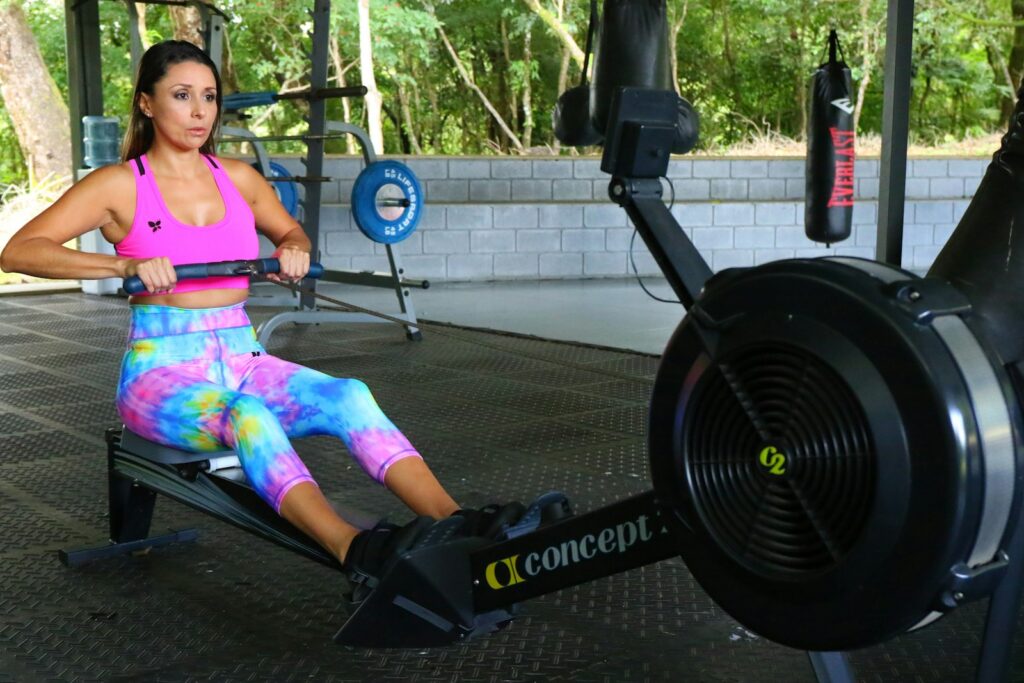
Quick answer: To use a rowing machine, push with your legs first, then lean back slightly from your hips, then pull the handle to just below your ribs. On the way back, reverse it: arms out, lean forward from your hips, then bend your knees and slide forward. Remember it as “legs, body, arms” on the way out and “arms, body, legs” on the way back. Keep your back straight, and set the damper to around 3 to 5. Most of your power should come from your legs, not your arms.
The rowing machine is one of the most popular cardio machines in the gym. It’s also one of the easiest to use badly. This guide is for you if you’re new to rowing, or if you row but feel it mostly in your arms or lower back. You’ll learn the four parts of the stroke, the most common mistakes, the right damper setting and simple workouts to start with.
Why use a rowing machine?
- It works your legs, back, arms and core in every stroke.
- It’s low impact, with no pounding on your knees and ankles like running.
- You control the intensity, from an easy steady row to hard intervals.
- It improves fitness. In a 10-week trial, women over 60 rowed for 30 minutes, three times a week. Their peak oxygen uptake, a key measure of aerobic fitness, rose by about 20%. A group that didn’t exercise saw no change (Araujo et al., 2023).
The four parts of the rowing stroke
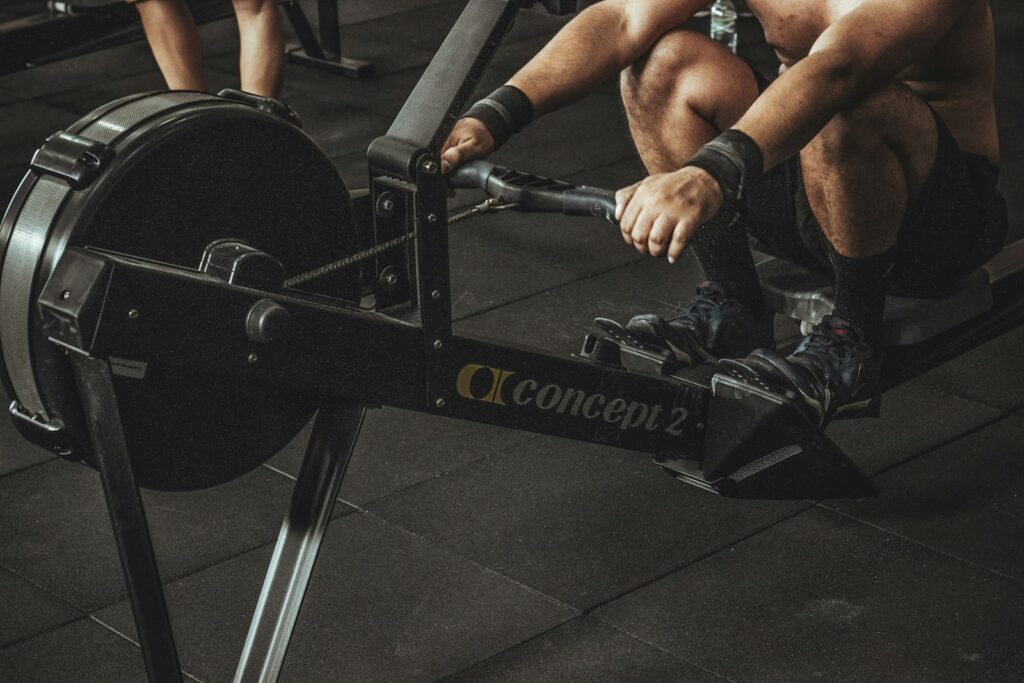
Concept2, the maker of the most common gym rower, splits each stroke into four parts (Concept2):
| Part | What it looks like |
|---|---|
| 1. Catch | Seat forward, shins close to vertical, arms straight, body leaning slightly forward from the hips, shoulders relaxed |
| 2. Drive | Push with your legs first, then swing your body back through upright, then pull with your arms |
| 3. Finish | Legs straight, body leaning back slightly, handle held lightly just below your ribs, shoulders down |
| 4. Recovery | Arms straighten first, then lean forward from your hips, then bend your knees and slide forward to the catch |
Right vs wrong technique
My video above shows the most common mistakes side by side with the right way. Here’s what to look for:
- Pulling with your arms first. Your arms are the weakest link. Push with your legs first and keep your arms straight until your legs are nearly done.
- Rounding your lower back. Lean from your hips with a long, straight back, especially at the catch.
- Bending your knees too early on the recovery. Your hands should pass your knees before your knees bend. Otherwise the handle has to go up and over your knees.
- Leaning back too far. A slight lean is enough. Lying back wastes energy and strains your back.
- Shrugging and gripping hard. Keep your shoulders low and hold the handle loosely, with flat wrists.
- Rushing the slide forward. Take your time on the way back. The recovery is your rest.
- Damper set to 10. More on this below.
What damper setting should you use?
The damper is the lever on the side of the fan. It controls how much air flows into the fan, which changes how heavy each stroke feels. It’s not a difficulty setting, and higher doesn’t mean a better workout.
Concept2 recommends a damper setting of 3 to 5 for most workouts: closer to 3 for longer rows and closer to 5 for shorter, harder pieces (Concept2). A setting of 10 feels like rowing a heavy boat through mud and tires your back and arms quickly.
Rhythm, stroke rate and the screen
- Rhythm: make the drive quick and powerful, and the recovery slow and relaxed. A common coaching guide is to take about twice as long coming forward as pushing back.
- Stroke rate: the screen shows strokes per minute. Around 20 to 24 is a good place to start for steady rowing. Higher rates are for short, hard efforts.
- Split time: the screen shows your pace as time per 500 meters. A lower split means you’re moving faster. Use it to track progress.
Protect your lower back
The lower back is the most commonly injured area in rowers. A review in competitive rowers found that a past back injury and the amount of rowing machine training were the biggest risk factors. It also noted that good rowers rock forward from the pelvis, while beginners tend to bend through the lower back instead (Wilson et al., 2014).
- Lean forward by tipping your pelvis, not by rounding your back.
- Keep the damper moderate.
- Build up your time on the rower gradually.
- If your form falls apart when you’re tired, slow down or stop.
- If you have back pain, see the back pain guide and check with a professional.
Beginner rowing workouts
| Workout | How to do it | Good for |
|---|---|---|
| Technique row | 5 x 2 minutes easy, focusing on “legs, body, arms.” Rest 1 minute | Learning the stroke |
| Steady row | 15 to 25 minutes at a pace you could hold a conversation at, 20 to 24 strokes per minute | Aerobic fitness, warm-ups |
| Intervals | 6 to 8 x 1 minute hard, 1 minute easy | Conditioning |
| Distance test | Row 2,000 m at your best steady pace, and note your time | Tracking progress every 4 to 6 weeks |
Use a steady row as a Zone 2 cardio session, or as a 5-minute warm-up before lifting. For more on fitting cardio around your strength work, read cardio and weights on the same day.
Summary
- Drive: legs, body, arms. Recovery: arms, body, legs.
- Most of your power comes from your legs. Don’t pull with your arms first.
- Keep your back long and lean from your hips.
- Set the damper to around 3 to 5, not 10.
- Make the drive quick and the recovery slow.
- Start with short technique rows, then build to steady rows and intervals.
Pair your cardio with a strength plan
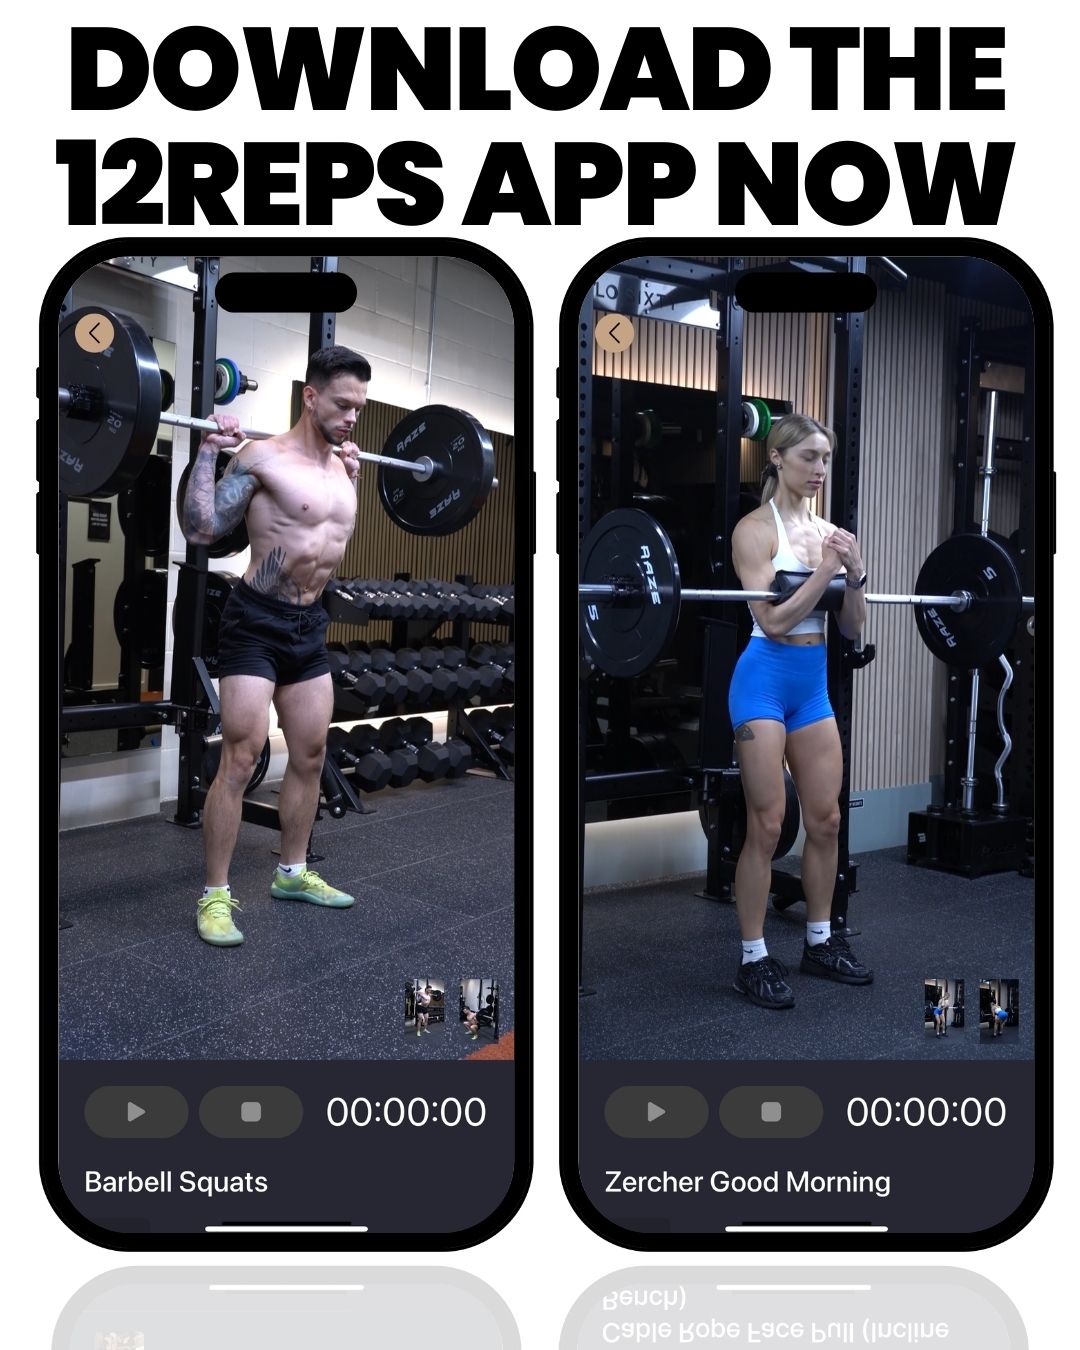
Rowing builds your engine. Strength training builds the muscle and power behind it. 12REPS gives you trainer-built programs with two demo videos for every exercise, and a gym log and timer so you can track your sessions week by week. New users get a 7-day free trial.
Download 12REPS and see what you’ll get:
Sources
- Concept2. Rowing technique
- Concept2. What damper setting should I use?
- Araujo RC et al. The time course of cardiorespiratory adaptations to rowing indoor training in post-menopausal women. Int J Environ Res Public Health, 2023
- Wilson F, Gissane C, McGregor A. Ergometer training volume and previous injury predict back pain in rowing. Br J Sports Med, 2014
Related reading
- What is Zone 2 cardio and why should you do it?
- Cardio or weights first?
- The 12REPS Full-Body Engine: a 30-minute workout
- Hyrox training: how to adapt from strength to hybrid fitness
- Strength training for back pain
I’m Will Duru, a personal trainer and the founder of 12REPS. I hold a BSc (Hons) in Sport and Exercise Science and have more than a decade of experience coaching people in strength training.