


The barbell hip thrust is the single most effective exercise for building stronger, more powerful glutes. Research confirms it activates more glute muscle fibres than squats, deadlifts, or any other lower body movement.
Yet I’d estimate 70% of women doing hip thrusts in commercial gyms are doing them wrong. They’re either feeling it in all the wrong places (quads, hamstrings, lower back), using terrible form that risks injury, or loading the bar so heavy their technique falls apart completely.
I’m Will Duru, a personal trainer with over 10 years’ experience in London. I’ve taught hundreds of women how to hip thrust properly. The difference between doing them right versus wrong isn’t subtle—it’s the difference between building genuinely impressive glutes and wasting months of gym time whilst wondering why you’re not seeing results.
Here’s everything you need to know about hip thrusts, based on what actually works when teaching this movement to real people.
Why Hip Thrusts Are Worth Getting Right
Before we dive into technique, let’s establish why this exercise matters.
Hip thrusts load the glutes in their fully shortened, contracted position. When you’re at the top of the movement, hips fully extended, glutes squeezed, that’s where maximum tension occurs. This is unique. Squats load the glutes most at the bottom. Deadlifts load them in a stretched position. Hip thrusts hit them at peak contraction.
The result? Superior glute activation and growth compared to other exercises.
A 2015 study by Bret Contreras (the researcher who popularised hip thrusts) found they activated 35% more glute muscle than back squats. Not slightly more, substantially more. If you want to build your glutes as efficiently as possible, hip thrusts aren’t optional. They’re essential.
But—and this is critical—only if you do them correctly. A poorly executed hip thrust with 60kg accomplishes less than a properly executed glute bridge with no weight at all.
I’ve trained women who hip thrust 80kg and feel it entirely in their quads. I’ve trained others who hip thrust 30kg and get a glute pump so intense they can barely walk afterwards. The weight matters far less than the execution.
The Setup: Getting This Right Prevents Everything Else Going Wrong
Most hip thrust problems start before you’ve even lifted the bar. The setup determines whether you’ll feel this exercise in your glutes or everywhere else.
Bench Height and Position
You need a bench or sturdy box 40-45cm high. Standard gym benches work perfectly. The bench needs to be stable—wedge it against a wall or heavy equipment so it won’t slide backwards.
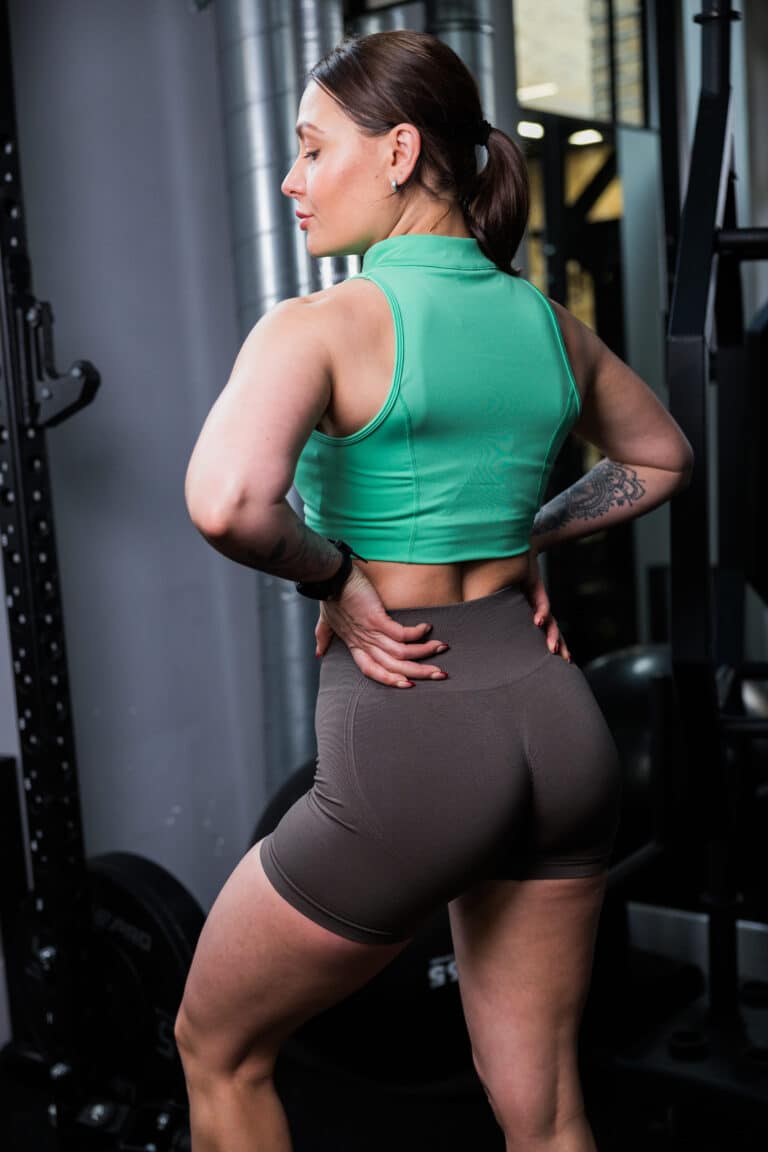
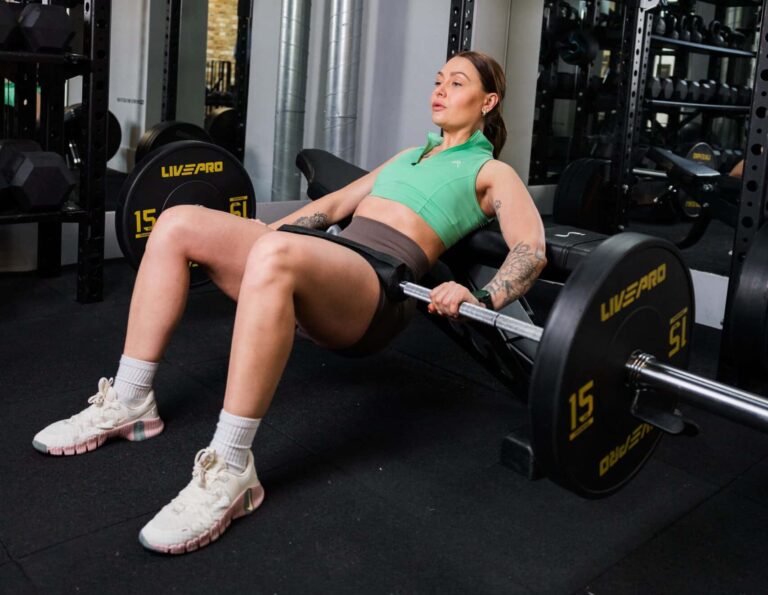
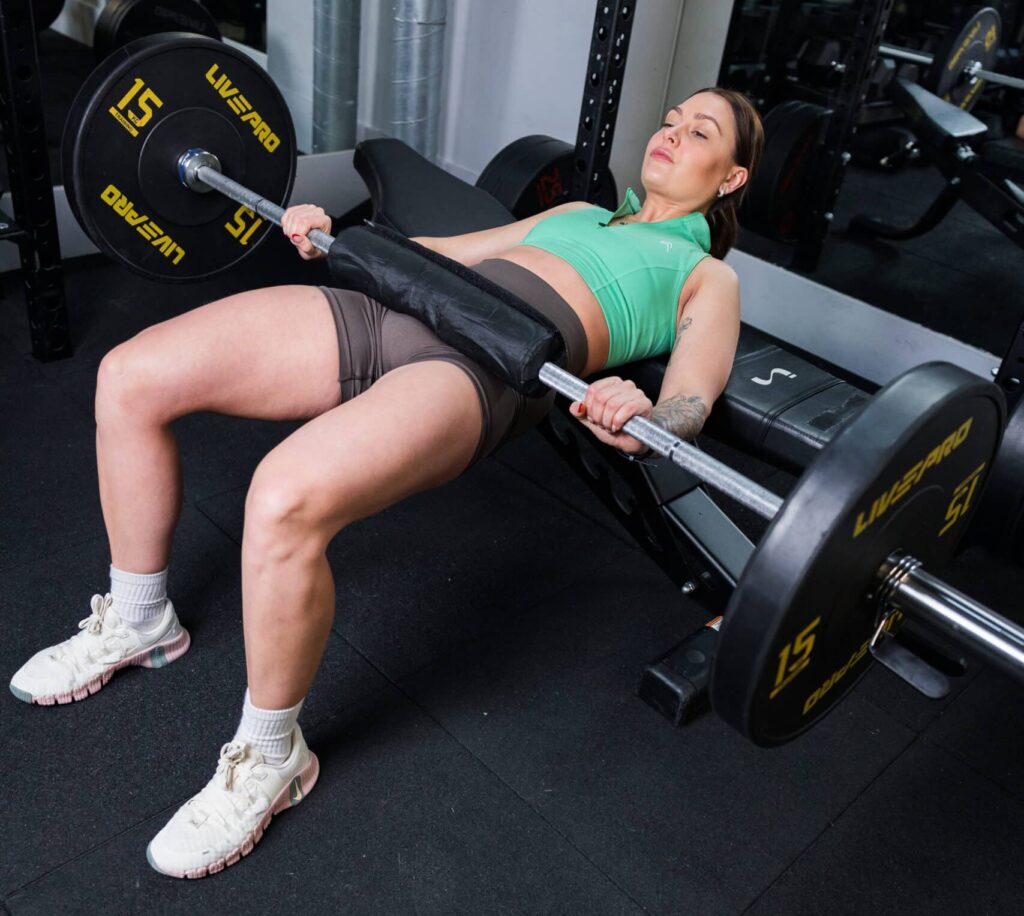
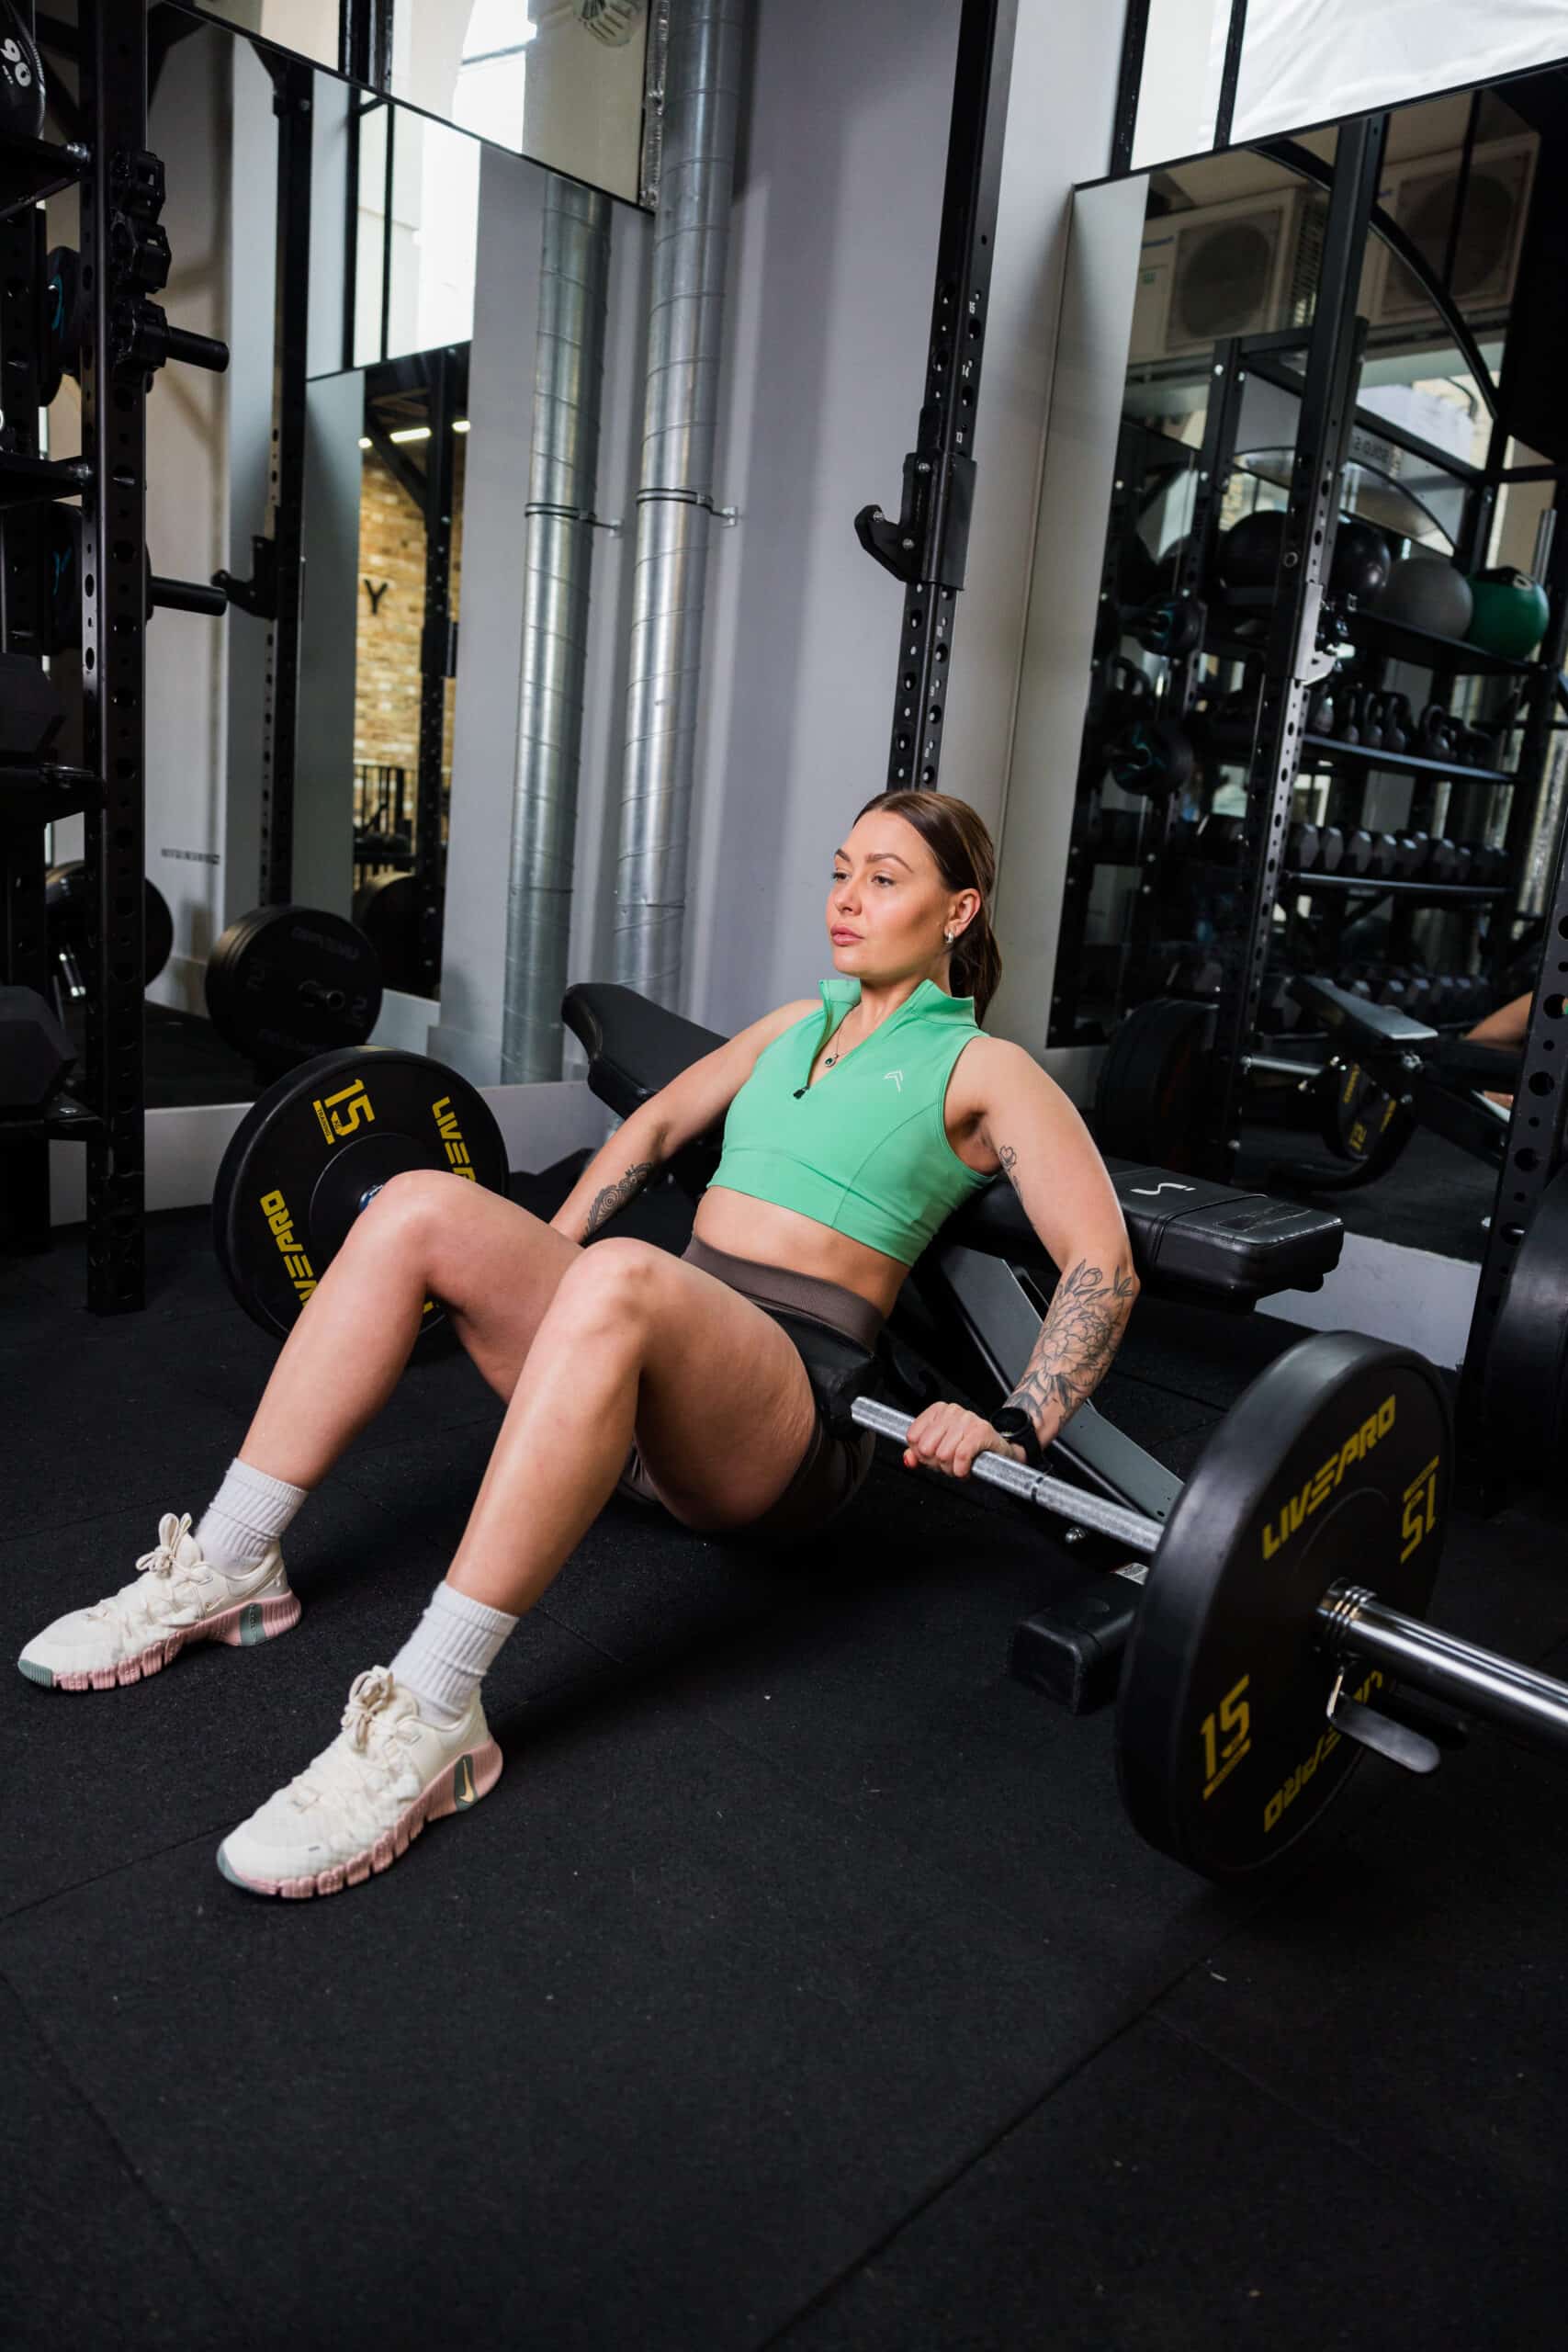
Sit on the floor with your back against the bench. Your shoulder blades should rest on the bench edge, not your mid-back or lower back. Specifically, the bottom of your shoulder blades. This is critical.
Too high (mid-back on bench): You’ll hyperextend your lower back and risk injury. Too low (entire back on bench): You lose range of motion and glute activation.
I make every client check this before adding weight. Sit back against the bench, feel where your shoulder blades contact the edge. That’s your position. It doesn’t change when you add the barbell.
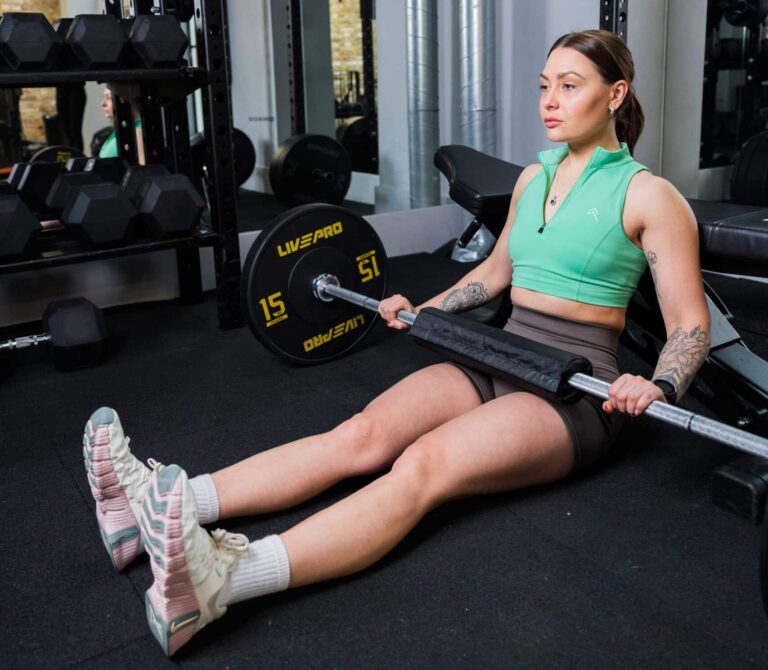
Foot Position: The Most Important Variable
This is where most people get it wrong, and it’s why they feel hip thrusts in their quads instead of their glutes.
Your feet need to be far enough forward that your shins are vertical (or slightly past vertical) at the top of the movement. Not angled back toward you—vertical.
Here’s the test: Get into the top position without weight. Look down at your knees. If your knees are forward over your toes, your feet are too close. Move them further out. Your shins should be perpendicular to the floor or leaning slightly back toward the bench.
This feels weird initially. Most people’s instinct is to plant feet closer. Fight that instinct. Feet forward = glutes working. Feet close = quads working.
Foot width should be hip to shoulder-width apart. I generally recommend starting at hip-width and adjusting if needed.
Toes should point straight forward or slightly outward (15-30 degrees). More toe flare recruits more glute fibres by adding external rotation. Experiment to find what feels best.
The Barbell and Padding
Use a standard Olympic barbell (20kg for women). Yes, it’s heavy to start. If you genuinely can’t manage 20kg, begin with glute bridges using just the bar, build strength for 2-4 weeks, then progress to hip thrusts.
You absolutely need padding over the bar. Hip thrusts place substantial pressure on your hip bones. Without padding, it’s painful enough to limit performance. The bar pad, thick yoga mat, or towel works fine.
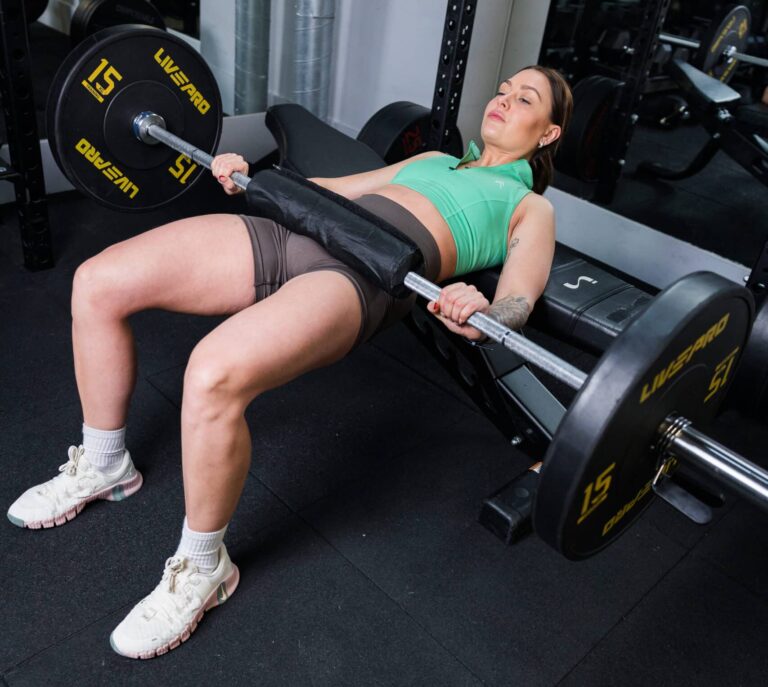
Position the bar directly over your hip crease—the fold where your thighs meet your torso. Not on your hip bones themselves, not on your thighs. Right in the crease.
The Movement: Step-by-Step Execution
Right, you’re set up. Feet positioned correctly, bar padded and in the hip crease, shoulder blades on bench edge. Here’s how to actually perform the movement.
Starting Position
Before you lift, establish tension. This is what most people skip.
- Brace your core. Pull your belly button toward your spine. Imagine someone’s about to punch you in the stomach. That tension—maintain it throughout the entire set.
- Tuck your chin slightly. You should be looking at your knees, not at the ceiling. Chin tucked prevents neck strain and stops you hyperextending your lower back.
- Pull the bar tight into your hips with your hands. Grip just outside your hips, not wide. This keeps the bar stable.
- Pre-squeeze your glutes before you even start moving. Activate them consciously. You’re about to ask them to do serious work—wake them up first.
Most people rush this. They get set up and immediately start thrusting. Wrong. Take three seconds in the starting position to establish proper tension. Those three seconds determine whether the set feels right or rubbish.
The Upward Phase
Drive through your heels—not your toes, your heels—and push your hips upward. Your entire foot stays flat on the ground, but the force comes through your heels.
As you rise, think about two things:
- Pushing the floor away with your feet
- Squeezing your glutes hard to drive your hips upward
Your torso moves WITH your hips. They’re locked together. If your torso stays rigid whilst your hips move independently, you’ll arch your lower back. Bad. Move as one unit.
At the top, you want:
- Body forming a straight line from shoulders to knees
- Hips fully extended (not hyperextended—there’s a difference)
- Shins vertical or slightly past vertical
- Glutes squeezed as hard as you can manage
- Ribs down, not flaring upward
Critical cue: At the top, imagine tucking your pelvis under slightly. This ensures you’re getting full hip extension from your glutes, not from arching your lower back. The distinction is subtle but important.
Hold the top position for one full second. Don’t just tap it and drop back down. One genuine second with glutes fully contracted.
The Downward Phase
Lower under control. This isn’t a drop—it’s a controlled descent. Take 2-3 seconds to return to the starting position.
As you lower, your torso and hips move together. Keep that core tension. Don’t let your back arch as you descend.
You can either:
- Touch the bar to the floor briefly between reps (dead stop style)
- Keep tension and reverse direction just before touching (constant tension style)
Both work. Dead stop ensures full range of motion. Constant tension keeps the glutes under continuous load. I generally recommend dead stop for beginners to prevent rushed, sloppy reps.
Common Mistakes and How to Fix Them
Right, let’s address the problems I see constantly.
Mistake 1: Feeling It in Your Quads Instead of Glutes
This is the number one complaint. “I’m doing hip thrusts but my quads are burning and I barely feel my glutes.”
The fix: Feet position. 95% of the time, feet are too close to your bum. Move them forward. Check that your shins are vertical at the top. If they’re not, move feet even further forward.
Also, drive through your heels. If you’re pushing through your toes, you’re recruiting quads. Heels down, whole foot flat, force through the heels.
Finally, reduce the weight and focus on the glute squeeze at the top. It’s better to hip thrust 20kg with perfect glute activation than 60kg whilst your quads do all the work.
I had a client who swore she “just couldn’t feel glutes during hip thrusts.” We moved her feet forward 15cm and dropped the weight from 50kg to 30kg. Immediately—same session—she felt glutes properly for the first time. Sometimes it’s that simple.
Mistake 2: Lower Back Taking Over
If your lower back hurts during hip thrusts, something’s wrong. This shouldn’t stress your lower back.
Common causes:
Hyperextending at the top. You’re arching your back to reach full height instead of extending your hips. The fix: ribs down, slight posterior pelvic tilt at the top. Think about tucking your pelvis under.
Torso and hips moving independently. Your hips shoot up whilst your torso stays stiff, creating an arch in your lower back. The fix: Move as one unit. Your back stays neutral throughout; it just changes angle as your hips move.
Shoulder blades positioned wrong. If your mid-back or lower back is on the bench instead of just your shoulder blades, you’ll arch to complete the movement. The fix: Check setup position.
Mistake 3: Not Achieving Full Range of Motion
Partial reps are useless. The glutes achieve maximum activation at full hip extension. If you’re stopping short, you’re leaving gains on the table.
At the bottom: Bar should touch the floor (or come very close) between reps.
At the top: Body forms a straight line from shoulders to knees. Hips fully extended. This is non-negotiable.
If you can’t achieve full range of motion with your current weight, the weight’s too heavy. Reduce load, perfect the movement, then gradually increase weight. Ego-lifting helps nobody.
Mistake 4: Sliding on the Bench
Your upper back should stay planted on the bench edge throughout the movement. If you’re sliding up and down the bench, you’re losing stability and making the movement harder than it needs to be.
The fix: Drive your shoulder blades down into the bench at setup. Create friction. Keep that pressure throughout the set.
Also, check your bench position. If it’s on a slippery surface or not wedged against something solid, it’ll shift. Stable bench = stable movement.
Mistake 5: Rushing the Reps
Hip thrusts aren’t meant to be explosive. This isn’t Olympic lifting. Controlled, deliberate reps with a pause at the top produce far better results than rushed reps trying to hit some arbitrary rep target.
Take 2 seconds to push up, hold for 1 second at the top, take 2-3 seconds to lower down. That’s 5-6 seconds per rep. A set of 10 should take about a minute. If you’re finishing in 30 seconds, you’re rushing.
Progressing Your Hip Thrust: From First Attempt to Heavy Loading
Let’s talk about actually building strength over time, because that’s the entire point.
Weeks 1-2: Bodyweight and Bar Only
Start with bodyweight glute bridges from the floor. No bench, no weight. Master the movement pattern—driving through heels, squeezing glutes at the top, posterior pelvic tilt. Do 3 sets of 15-20 reps.
Once bodyweight glute bridges feel easy, progress to hip thrusts with just the barbell (20kg). Focus entirely on form. You should feel every single rep in your glutes. If you don’t, don’t add weight.
Weeks 3-6: Building the Base
Add 2.5-5kg per week if form remains perfect. This seems slow. It is slow. That’s fine. You’re building a foundation that will support heavy loading later.
At this stage, aim for 3-4 sets of 8-12 reps. The last 2-3 reps of each set should be challenging, but your form shouldn’t deteriorate.
Most women reach 40-50kg by week 6 if they’re consistent. That’s 20kg bar + 10kg plates on each side. This is solid progress.
Weeks 7-12: Systematic Loading
Continue adding 2.5-5kg per week. By week 12, many women reach 60-70kg for working sets.
The key metric: Can you maintain perfect form? If yes, add weight. If no, stay at current weight until form improves.
I don’t care if you can hip thrust 80kg if your form’s terrible. I care that you can hip thrust 60kg with textbook technique and incredible glute activation. The former builds ego. The latter builds glutes.
Months 4-6: Into Proper Strength
This is where hip thrusts get properly heavy. 70-100kg working sets become realistic for most women who’ve been consistent.
At this point, you might want to experiment with different rep ranges:
- Strength focus: 4-5 sets of 5-8 reps with heavier load
- Hypertrophy focus: 3-4 sets of 8-12 reps
- Metabolic focus: 2-3 sets of 15-20 reps with moderate load
Rotate through these different focuses every 4-6 weeks to prevent adaptation and maintain progress.
The Long Game: What’s Actually Achievable
With 6-12 months of consistent training, these are reasonable strength standards:
- Intermediate: Hip thrust bodyweight for 10 reps (65kg lifter = 65kg hip thrust for 10)
- Advanced: Hip thrust 1.5x bodyweight for 10 reps (65kg lifter = 97.5kg for 10)
- Very advanced: Hip thrust 2x bodyweight for reps (65kg lifter = 130kg for sets)
I’ve trained women who’ve reached 2.5x bodyweight hip thrusts. It takes years of dedicated training. But those women have genuinely impressive glute development. The correlation between hip thrust strength and glute size is undeniable.
Variations and Alternatives
Whilst the barbell hip thrust is the gold standard, these variations serve specific purposes:
Single-Leg Hip Thrust
Once you’re comfortable with bilateral hip thrusts (60kg+ for reps), single-leg variations add unilateral challenge and address imbalances.
Perform exactly like a regular hip thrust but with one leg elevated. Start with bodyweight, progress to holding a dumbbell on your hip. These are brutal—expect to use far less resistance than bilateral thrusts.
Banded Hip Thrust
Add a resistance band around your knees (above the knee, not on it). This forces your glutes to work on both hip extension AND hip abduction, particularly targeting gluteus medius.
Don’t go too heavy with the band. Light to moderate resistance is sufficient. The band shouldn’t cause your knees to cave inward—if it does, it’s too strong.
Feet-Elevated Hip Thrust
Place your feet on a box or bench. This increases range of motion substantially, making the exercise harder without adding weight.
Only attempt this once you’re genuinely strong at regular hip thrusts. The increased range of motion is significant.
Glute Bridge (When Hip Thrusts Aren’t Available)
If you can’t access a bench, barbell glute bridges from the floor are a solid alternative. They activate less of the quads and more of the hamstrings compared to hip thrusts, but still provide excellent glute work.
Position is identical to hip thrusts, just without the bench. The reduced range of motion means you’ll need more load to achieve similar stimulus.
When to Hip Thrust in Your Training
Hip thrusts work best as the primary glute movement in your leg sessions. Programme them early in the workout when you’re fresh.
Sample lower body session:
- Barbell back squat: 4 sets of 6-8 reps
- Barbell hip thrust: 4 sets of 8-12 reps
- Romanian deadlift: 3 sets of 10-12 reps
- Walking lunges: 3 sets of 10 per leg
- Leg curl: 3 sets of 12-15 reps
Hip thrusts sit after your main compound lift (squat or deadlift variant) but before isolation work. This ensures you can load them properly whilst still being fresh enough for good form.
Train hip thrusts 2-3 times per week if glute development is a priority. More than that risks inadequate recovery. Less than that limits progress.
The Equipment Reality: What You Actually Nee
Hip thrusts require specific equipment. You cannot replicate this movement at home without:
- Olympic barbell (20kg)
- Weight plates
- Stable bench or box (40-45cm high)
- Bar padding
This is why hip thrusts belong in your gym sessions, not your home workouts. Save this exercise for gym days. Use glute bridges, banded work, and single-leg movements at home.
If you’re following the hybrid training approach I discussed in the previous guide, hip thrusts are THE main reason to get to the gym. You simply cannot load hip extension this heavily at home without proper equipment.
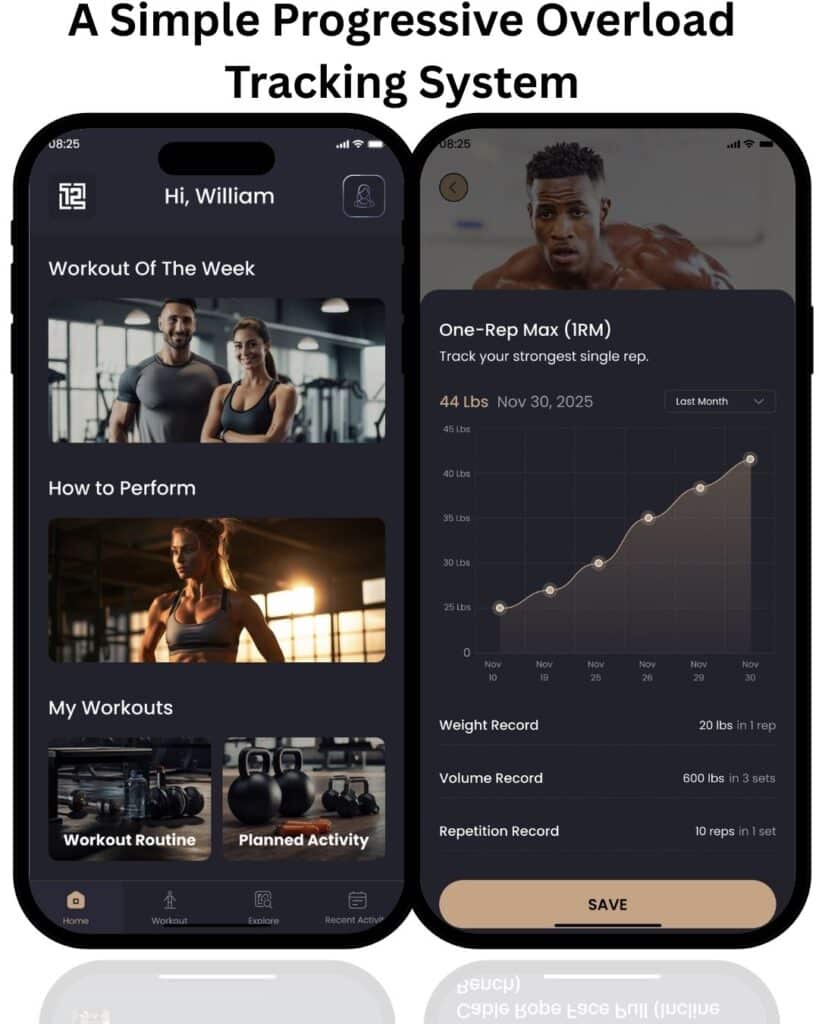
How 12REPS Programmes Hip Thrust Progression
The challenge with hip thrusts is systematic progression. You need to add weight gradually, track what you’re lifting, and adjust based on performance.
Most women either add too much weight too fast, watch their form deteriorate, and stop feeling their glutes—or they never add weight at all, doing the same 50kg for months and wondering why they’re not progressing.
12REPS solves this by programming progressive hip thrust loading automatically. When you log your gym session, the app tracks what weight you used, how many reps you completed, and how difficult it felt. Next session, it suggests a slight progression—maybe 2.5kg more, maybe the same weight for more reps, maybe shorter rest periods. The progression is systematic, based on established principles, and individualised to your performance.
For beginners learning hip thrusts, this is invaluable. You’re not guessing what weight to use. You’re following a structured progression that ensures you’re challenging yourself without ego-lifting into terrible form.
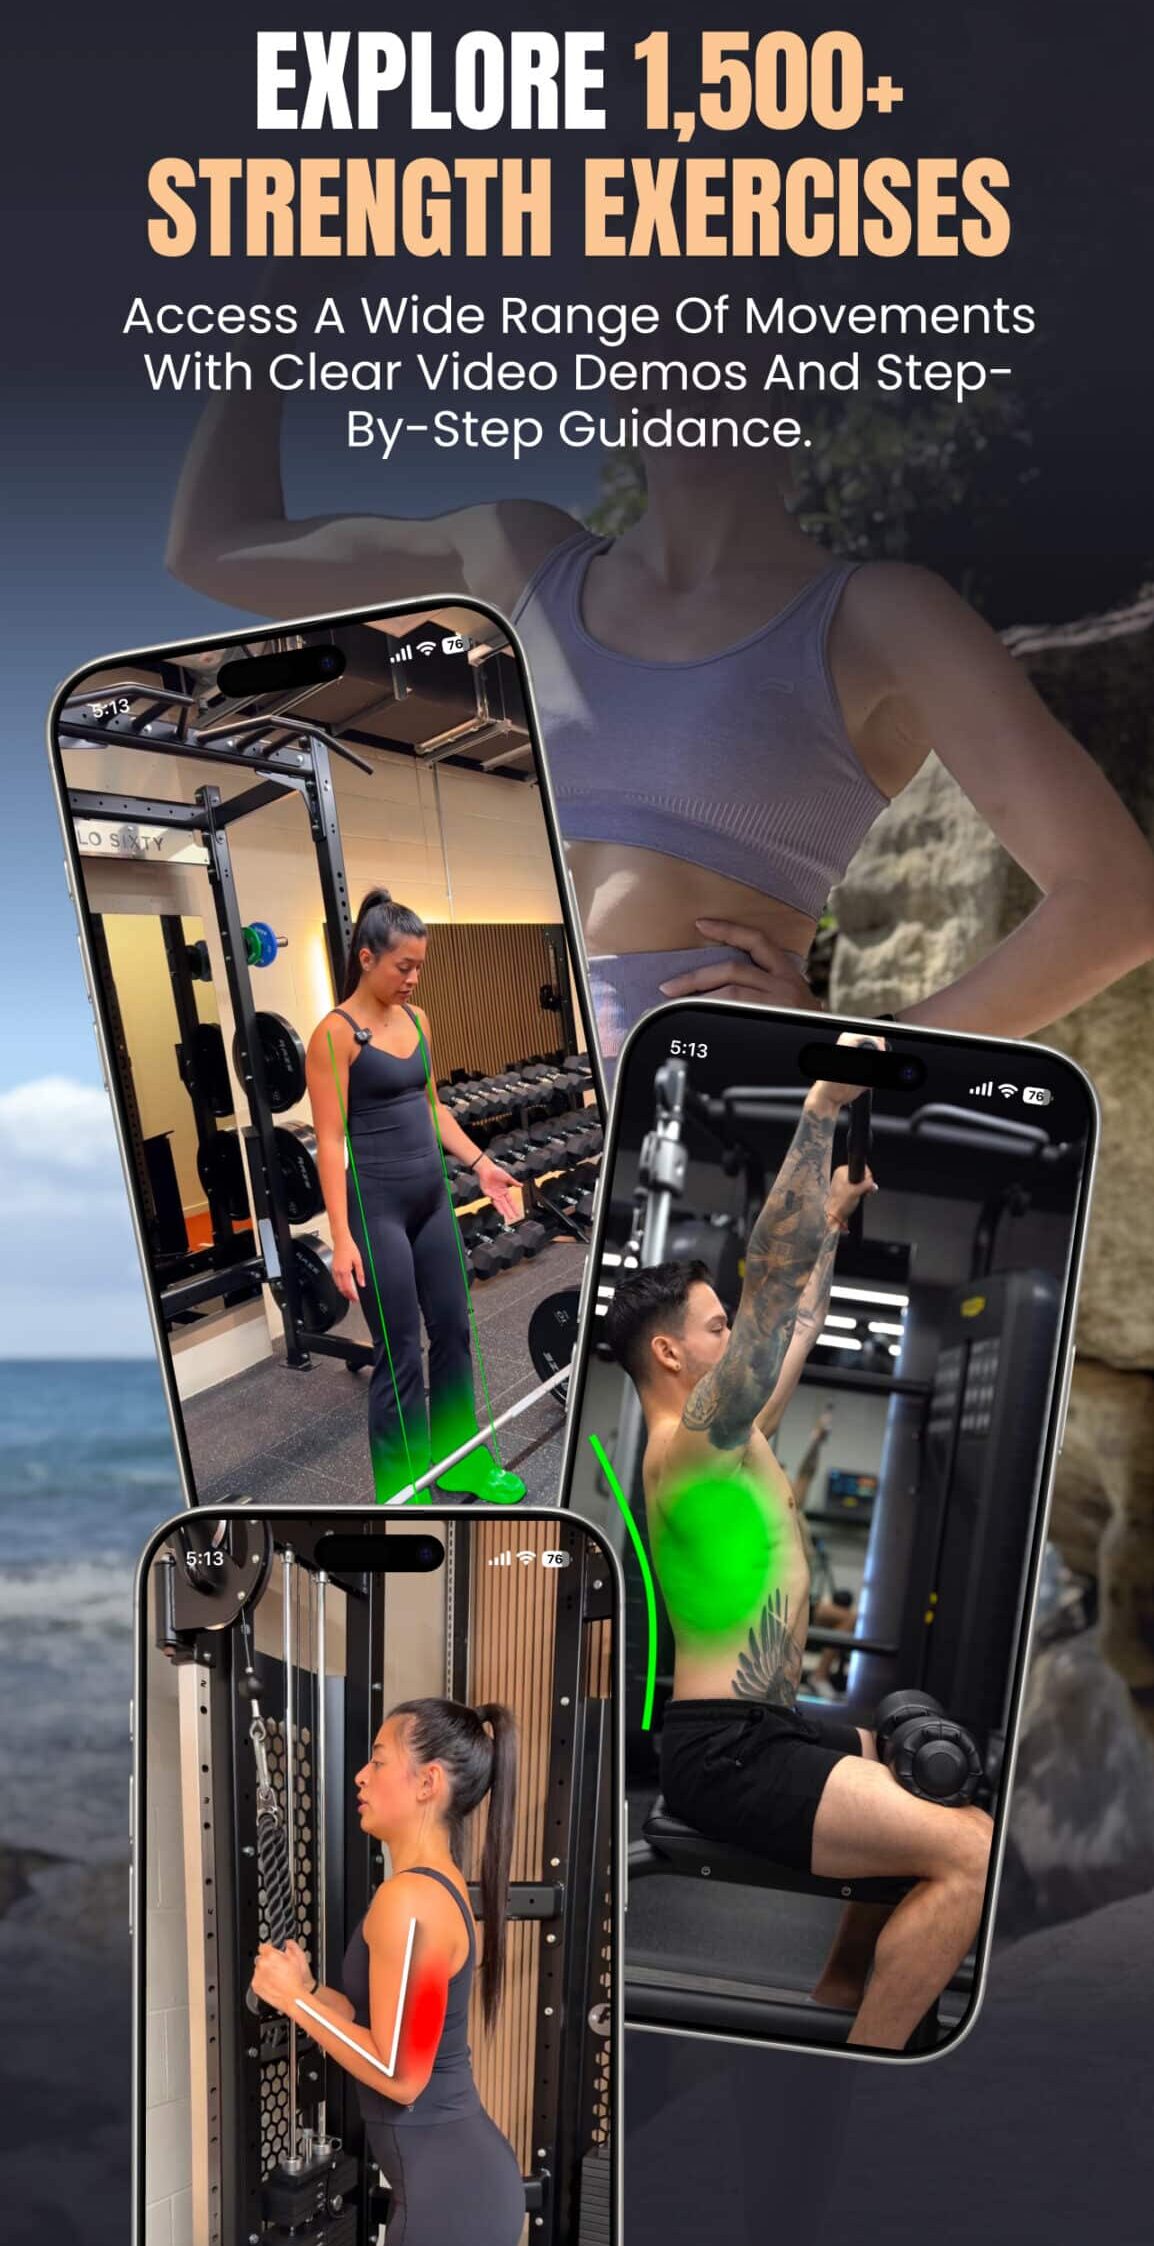
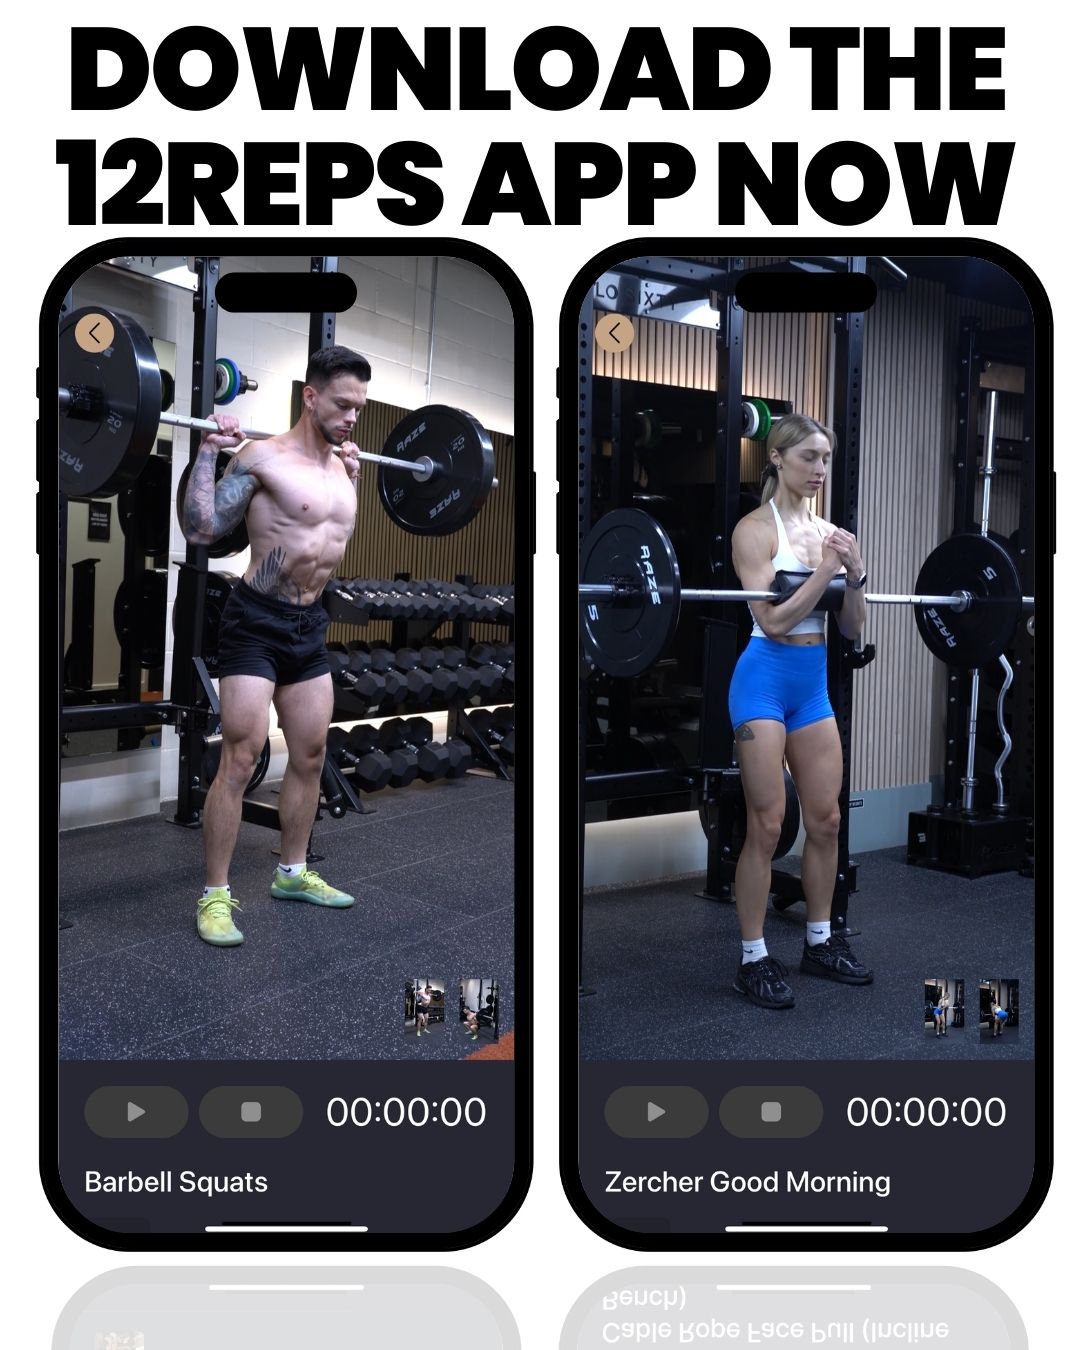
Video technique breakdowns for every exercise
Not sure if your hip thrust form is correct? Every exercise in 12REPS comes with detailed video demonstrations from Will Duru, a certified personal trainer with over 10 years of experience. You’ll see exactly where to position your feet, how high to drive your hips, and what mistakes to avoid. No more copying random gym-goers or hoping you’re doing it right.
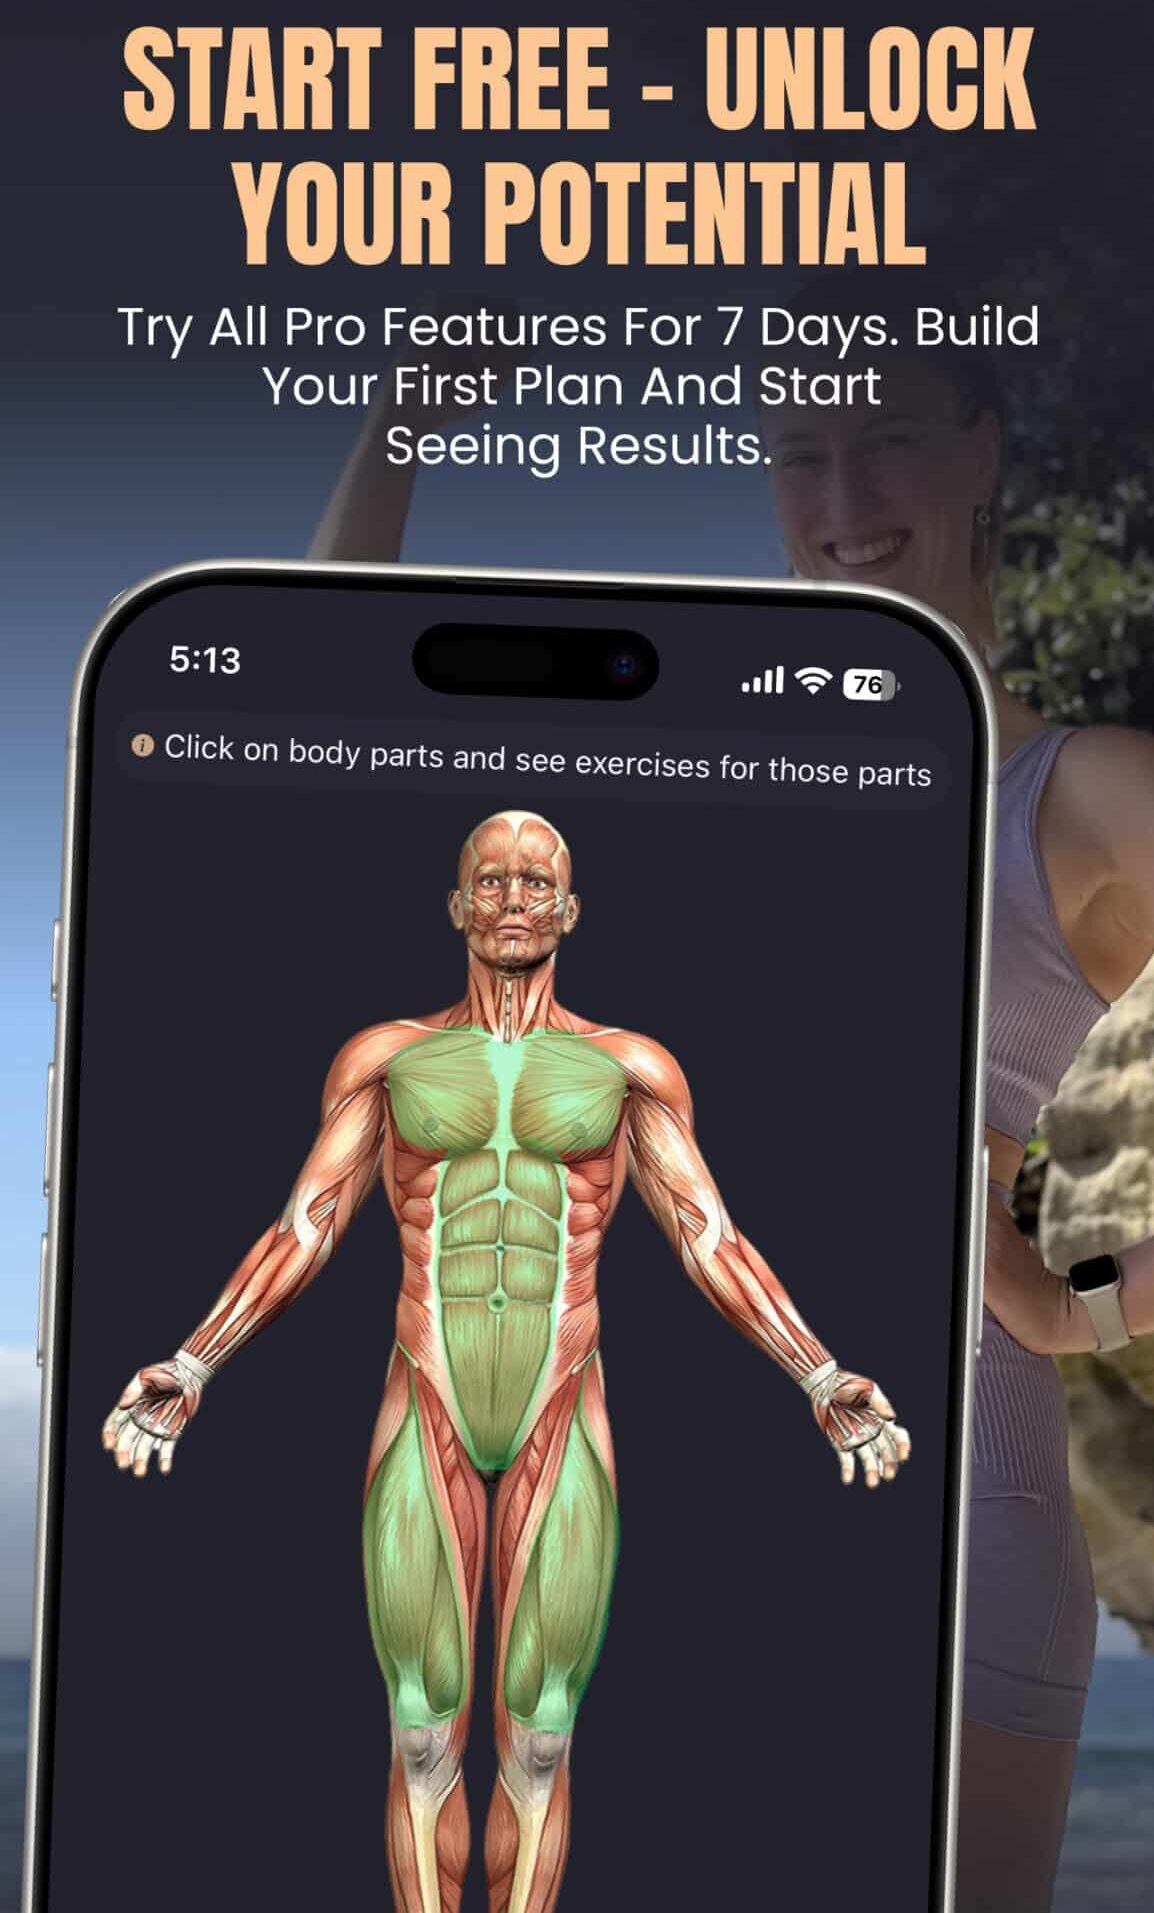
Over 1,500 exercises at your fingertips
Hip thrusts are just the beginning. With access to over 1,500 exercises, you can build complete workout splits targeting glutes, legs, upper body, or full-body training. Whether you prefer barbells, dumbbells, cables, or machines, the app has variations to suit your gym setup and experience level.
Intelligent programming that manages recovery
The app also manages your training frequency intelligently. If you hip thrust heavy on Monday, it won’t programme another heavy hip-extension day on Wednesday. It might schedule Romanian deadlifts instead, or lighter glute bridge variations you can do at home. The programming accounts for recovery so you’re always training smart, not just training hard.
Hybrid gym and home training
Can’t make it to the gym? 12REPS adapts. The app includes home-friendly alternatives so you never miss a session. Bodyweight glute bridges, resistance band work, or dumbbell variations—your programme stays on track regardless of where you’re training.
Rehab guidance when setbacks happen
Tweaked your lower back? Feeling tightness in your hip flexors? 12REPS includes rehab exercise videos from certified personal trainers and physiotherapists to guide you through recovery. Instead of pushing through pain and making things worse, you get structured rehab protocols to get you back to full strength safely.
Weekly programmes designed by certified coaches
You’re not following some algorithm-generated plan. Your programme is designed by real certified coaches who understand progressive overload, exercise selection, and how to structure training for long-term results. It’s like having a personal trainer in your pocket—without the £50-per-session price tag.
References
References
- Contreras, B., Vigotsky, A.D., Schoenfeld, B.J., Beardsley, C. and Cronin, J. (2015). A Comparison of Gluteus Maximus, Biceps Femoris, and Vastus Lateralis Electromyographic Activity in the Back Squat and Barbell Hip Thrust Exercises. Journal of Applied Biomechanics, 31(6), pp.452-458. https://doi.org/10.1123/jab.2014-0301
- Neto, W.K., Soares, E.G., Vieira, T.L., Aguiar, R., Chola, T.A., Sampaio, V.L. and Gama, E.F. (2020). Gluteus Maximus Activation during Common Strength and Hypertrophy Exercises: A Systematic Review. Journal of Sports Science and Medicine, 19(1), pp.91-101. https://www.ncbi.nlm.nih.gov/pmc/articles/PMC7039033/
- Schoenfeld, B.J., Grgic, J., Van Every, D.W. and Plotkin, D.L. (2021). Loading Recommendations for Muscle Strength, Hypertrophy, and Local Endurance: A Re-Examination of the Repetition Continuum. Sports, 9(2), p.32. https://doi.org/10.3390/sports9020032
- Williams, M.J., Gibson, N.V., Sorbie, G.G., Ugbolue, U.C., Brouner, J. and Easton, C. (2021). Activation of the Gluteus Maximus During Performance of the Back Squat, Split Squat, and Barbell Hip Thrust and the Relationship With Maximal Sprinting. Journal of Strength and Conditioning Research, 35(1), pp.16-24. https://doi.org/10.1519/JSC.0000000000002651
- Bezodis, N.E., Brazil, A., von Lieres und Wilkau, H.C., Wood, M.A., Pollitt, L.C. and Mara, J.K. (2019). World-Class Male Sprinters and High Hurdlers Have Similar Start and Initial Acceleration Techniques. Frontiers in Sports and Active Living, 1, p.23. https://doi.org/10.3389/fspor.2019.00023
- Contreras, B., Vigotsky, A.D. and Schoenfeld, B.J. (2017). Response to Letter to the Editor: “A Comparison of Gluteus Maximus, Biceps Femoris, and Vastus Lateralis Electromyographic Activity in the Back Squat and Barbell Hip Thrust Exercises”. Journal of Applied Biomechanics, 33(1), pp.87-88. https://doi.org/10.1123/jab.2016-0264
- Andersen, V., Fimland, M.S., Brennetvedt, Ø., Solstad, T.E.J., Shaw, M.P. and Sæther, S.A. (2018). Muscle Activation and Strength in Squat and Bulgarian Squat on Stable and Unstable Surface. International Journal of Sports Medicine, 39(11), pp.815-823. https://doi.org/10.1055/a-0648-5925