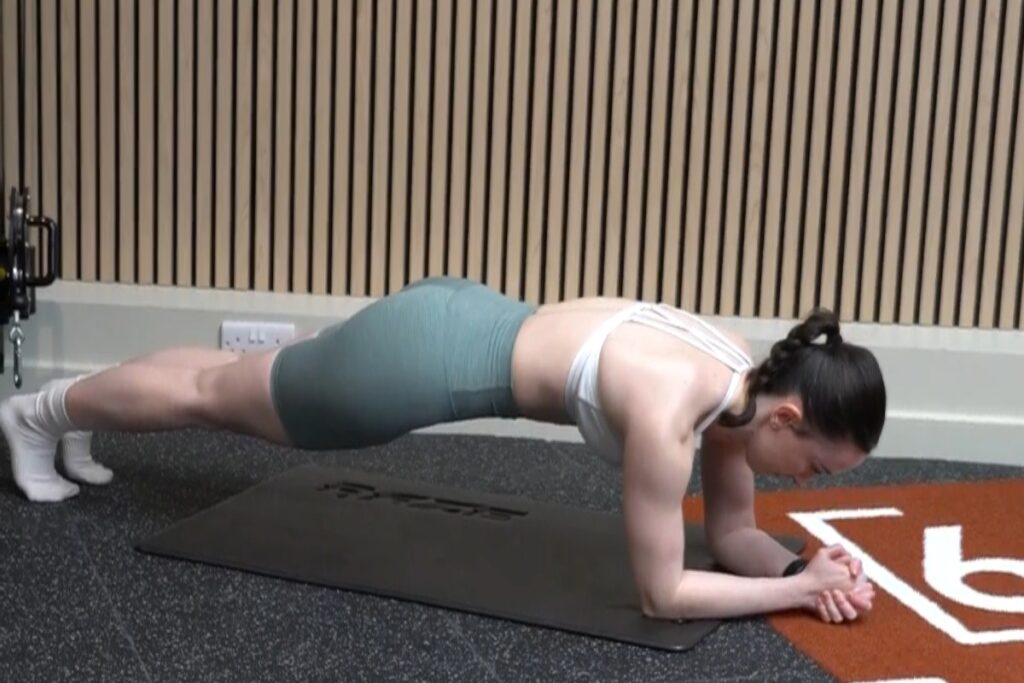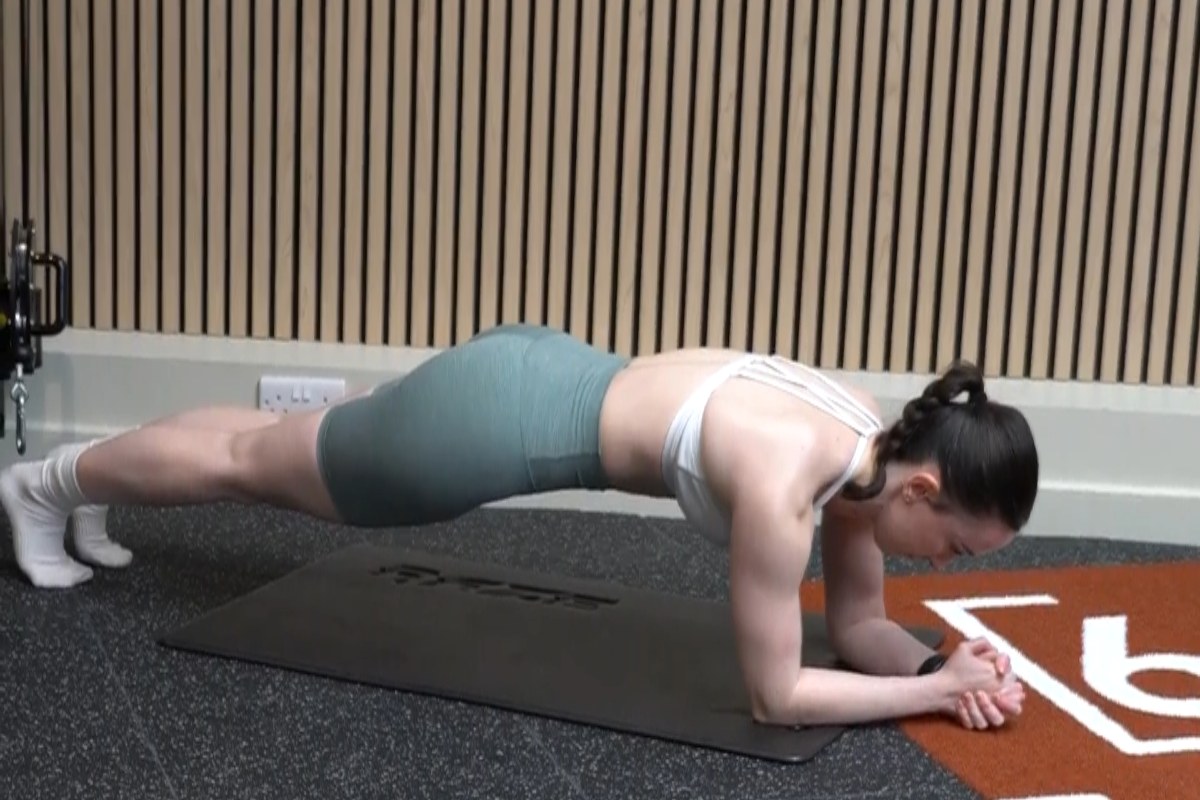


To do a plank, rest on your forearms with your elbows under your shoulders and your body in a straight line from head to heels. Brace your stomach, squeeze your glutes and push your elbows into the floor. Breathe steadily and hold until your form starts to break, not just until the timer ends.
That’s the whole exercise.
The plank looks simple, but many people do it poorly. They let their hips drop, hold their breath and wait for the timer to end. A good plank should feel active. The goal isn’t to survive the time. The goal is to create tension.
This guide is for you if:
- You’re new to core training and want to start with something safe.
- You can hold a plank, but you feel it in your lower back or shoulders.
- You want to know how long to hold it and what to do when it gets easy.
I’m Will Duru, a personal trainer and the founder of 12REPS. Below, I’ll cover what the research shows, how to set up, how long to hold, easier and harder versions, and the mistakes I see most.
Why do planks?
Your core’s main job is to keep your spine steady while the rest of your body moves. The plank trains exactly that. It’s an anti-extension exercise, meaning your core works to stop your lower back from sagging toward the floor.
What the research says
- How you plank changes how hard your abs work. In a study of 19 people, a plank with the elbows further forward and the pelvis tucked under produced more activity in the abs and obliques than a standard plank. (Schoenfeld et al., 2014)
- Exercise helps chronic low back pain. A large review of 249 trials found moderate-certainty evidence that exercise reduces pain in adults with chronic low back pain, compared with no treatment or usual care. (Hayden et al., 2021)
- There’s a wide range of “normal” hold times. In 471 college students, the median plank hold was 110 seconds for men and 72 seconds for women, held until form broke. These were young, active people, so don’t use them as a target on day one. (Strand et al., 2014)
What the research doesn’t say
- The back pain review covered many types of exercise. It doesn’t show that planks are better than other exercise for back pain.
- Muscle activity studies are short and small. More activity in one session doesn’t prove a variation builds a stronger core over months.
If you have back pain, check with a doctor or physical therapist before you start. If you’ve recently had a baby, see the note on postpartum training further down.
Why I use them
Exercises that resist movement, like planks, dead bugs and Pallof presses, build real core strength. The plank is the foundation. It teaches you to brace, which helps every other lift. A weak core means weaker squats, deadlifts and presses.
It’s also safe for almost every level, needs no equipment and is easy to make harder as you get stronger.
How to do a plank
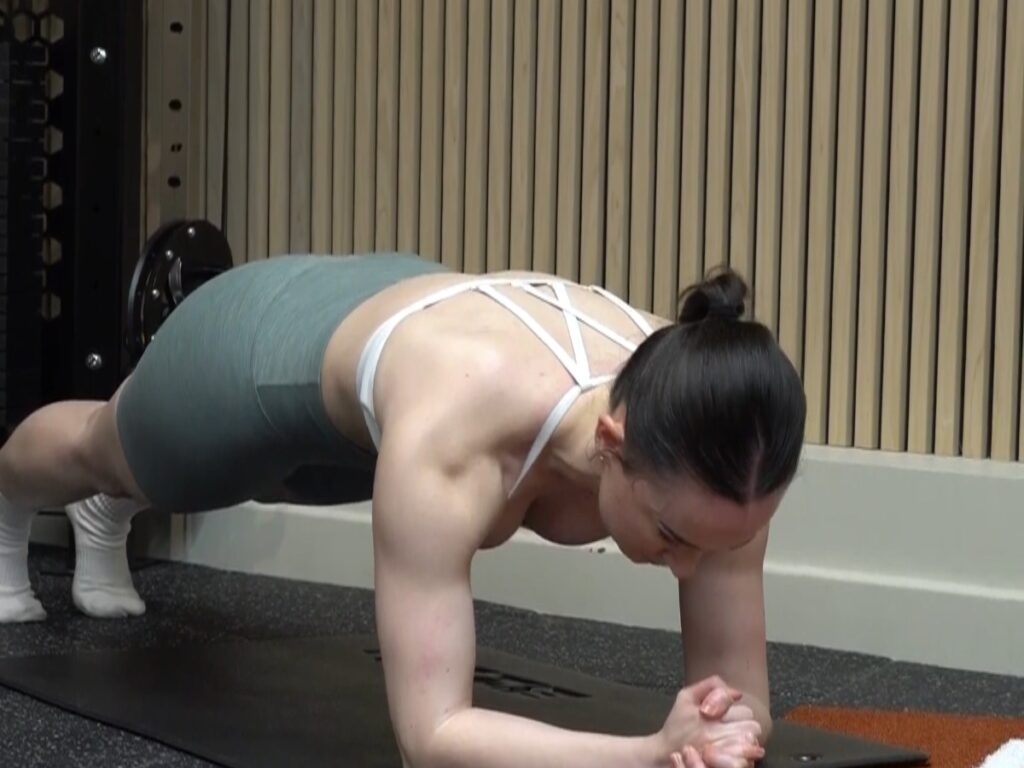
This is the forearm plank, the version most people mean when they say “plank.”
Setup
- Kneel on a mat. Place your forearms on the floor, elbows directly under your shoulders. Keep your hands apart or clasp them lightly.
- Step your feet back. Straighten your legs one at a time, feet about hip-width apart, toes tucked under.
- Find your straight line. Your head, shoulders, hips and heels should line up. Look at the floor just in front of your hands, so your neck stays long.
Holding the position
- Brace your stomach. Tighten it as if you’re about to be poked.
- Squeeze your glutes. This stops your hips from sagging and takes pressure off your lower back.
- Keep your ribs down. Don’t let your lower back arch.
- Push your elbows into the floor. Spread your upper back slightly, so your shoulders don’t sink between your shoulder blades.
- Hold. Stop when your hips start to drop or lift, or your back starts to ache.
Breathing
Don’t hold your breath. Take slow, steady breaths through your nose and out through your mouth while keeping your stomach tight. If you can’t breathe and brace at the same time, the plank is too hard for now. Try an easier version below.
My coaching cues
- “Make it active.” Brace, squeeze and push. A plank shouldn’t feel like resting.
- “Straight line, head to heels.” No sagging hips, no hips in the air.
- “Ribs down, glutes tight.” That’s what protects your lower back.
- “Push the floor away.” Drive your elbows down so your shoulders stay strong.
How long should you hold a plank?
Hold for as long as your form stays perfect, then stop. A 30-second plank done well beats a 2-minute plank with your hips sagging.
| Level | Sets | Hold | Rest |
|---|---|---|---|
| Beginner | 3 | 20 to 30 seconds | 30 to 45 seconds |
| Building up | 3 | 30 to 45 seconds | 45 seconds |
| Confident | 3 | 45 to 60 seconds | 45 to 60 seconds |
Do planks two or three times a week, at the end of a strength session.
How to progress
- Add a few seconds. When every set feels solid, add 5 to 10 seconds to each hold the next week.
- Stop at 60 seconds. Once you can hold 3 sets of 60 seconds with good form, holding longer adds little. Make the plank harder instead.
- Move to a harder version. Try the long-lever plank, shoulder taps or a Swiss ball plank (see below).
Log your hold times. It’s the easiest way to see your core getting stronger week by week.
Easier plank variations
Start here if you can’t hold a full plank for 20 seconds with good form.
Knee plank
Set up exactly like a forearm plank, but keep your knees on the floor. Your body makes a straight line from head to knees instead of head to heels. Brace and squeeze your glutes the same way. When you can hold 3 sets of 30 seconds, try the full plank.
Incline plank
Rest your forearms on a bench or sturdy box and walk your feet back. The higher the surface, the easier it gets. Lower the surface as you get stronger.
Harder plank variations
Move on to these once you can hold 3 sets of 60 seconds with good form.
Long-lever plank
Set up as normal, then walk your elbows a few inches further forward, past your shoulders. Tuck your pelvis under and squeeze your glutes hard. You’ll feel your abs work much harder, even with a shorter hold.
Plank shoulder taps
Start in a high plank, on your hands with your arms straight. Set your feet a little wider than usual. Lift one hand and tap the opposite shoulder, then switch. Keep your hips still. They shouldn’t rock side to side.
Swiss ball plank
Rest your forearms on a Swiss ball and step your feet back into a plank. The ball moves under you, so your core has to work harder to keep you still.
Kettlebell plank drag-through
This is one of the hardest core exercises I program. Hold a high plank with a kettlebell beside you. Reach under your body with the opposite hand and drag the bell to the other side. Your core has to resist rotation the whole time.
The side plank
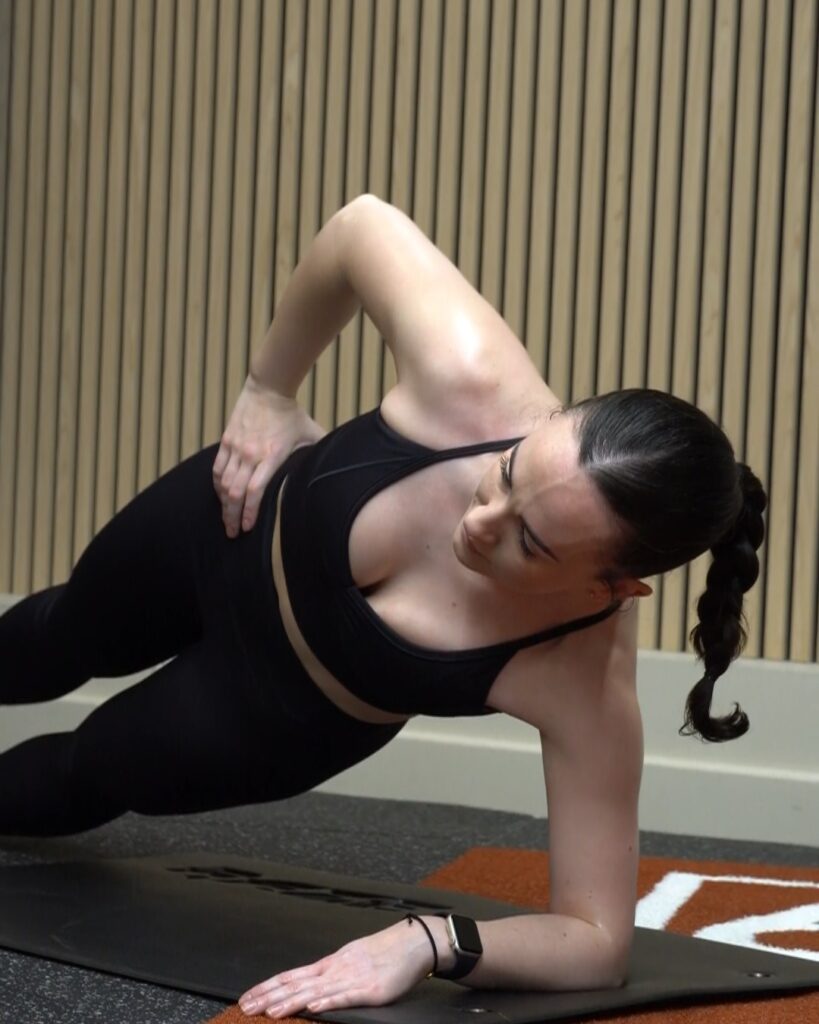
The side plank trains your obliques, the muscles along the sides of your waist, and the muscles around your hips.
- Lie on your side with your elbow directly under your shoulder.
- Stack your feet, or stagger them for more balance.
- Lift your hips until your body is in a straight line from head to feet.
- Hold, keeping your hips high. Don’t let them sag toward the floor.
- Switch sides.
For an easier version, bend your knees and lift from your knees instead of your feet.
A note if you’ve recently had a baby
If you’re returning to exercise after pregnancy, hold off on traditional planks until your core can hold the position without doming, where the middle of your stomach bulges upward. Start with gentler core work first. See my postpartum strength training program for where to begin.
Common plank mistakes
The three I see most are hips dropping, holding the breath and just waiting for the timer to end.
| Mistake | What it looks like | The fix |
|---|---|---|
| Hips sagging | Lower back dips toward the floor, you feel it in your back | Squeeze your glutes and tighten your stomach. Drop to your knees if you can’t hold it |
| Hips too high | Body makes an upside-down V | Lower your hips until you’re in a straight line from head to heels |
| Holding your breath | Face goes red, you gasp at the end | Breathe slowly through your nose while staying braced |
| Waiting for the timer | You’re relaxed, just hanging on your shoulders | Make it active: brace, squeeze and push the floor away |
| Shoulders sinking | Upper back caves in between your shoulder blades | Push your elbows into the floor and spread your upper back |
| Elbows out of place | Elbows far behind your shoulders, shoulders feel strained | Set your elbows directly under your shoulders |
| Looking up | Neck cranked, chin pushed forward | Look at the floor just in front of your hands |
If your lower back aches during a plank, stop. Reset with your glutes squeezed, or switch to a knee plank. A plank should feel hard in your stomach, not painful in your back.
A simple 10-minute core finisher
Add this to the end of a strength session, two or three times a week. It uses moves I put in my programs on 12REPS.
| Exercise | Sets | Reps or time | Rest |
|---|---|---|---|
| Plank | 3 | 30 seconds | 30 sec |
| Side plank | 2 | 30 seconds each side | 30 sec |
| Dead bug | 3 | 10 each side | 45 sec |
| Plank shoulder taps | 3 | 10 each side | 45 sec |
New to core work? Use the knee plank and the bent-knee side plank, and do 2 sets of each.
Summary
- Forearms down, elbows under your shoulders, body in a straight line from head to heels.
- Brace your stomach, squeeze your glutes, keep your ribs down and push the floor away.
- Breathe steadily. Don’t hold your breath.
- Start with 3 sets of 20 to 30 seconds and build to 60 seconds.
- Once 60 seconds feels solid, make the plank harder instead of longer.
- Stop if you feel it in your lower back.
Build a stronger core with a plan
Planks are easy to skip. They’re usually the last thing in a session, and the first thing to go when you’re short on time.
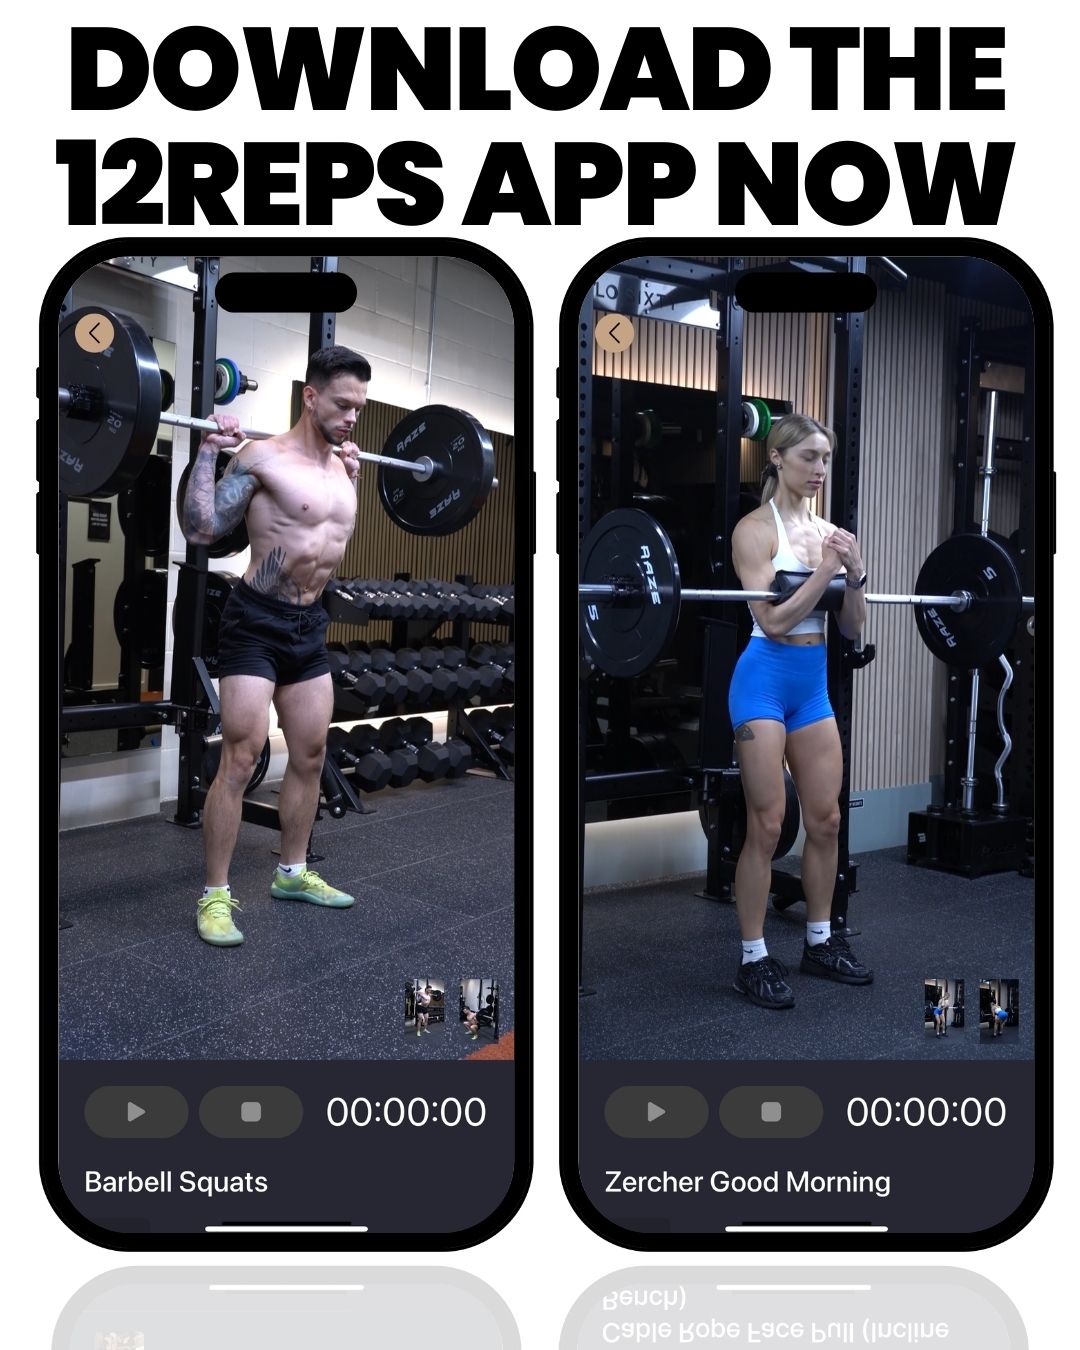
12REPS puts your core work into your program, so it’s always there at the end of your workout. Every program is written by a real personal trainer. Before every exercise, you get a demo video and a coach’s guide, so you know exactly what a good plank looks like. Every session you log is saved, so you can see your training build week by week.
Download 12REPS and see what you’ll get:
Sources
- Schoenfeld BJ, Contreras B, Tiryaki-Sonmez G, Willardson JM, Fontana F. An electromyographic comparison of a modified version of the plank with a long lever and posterior tilt versus the traditional plank exercise. Sports Biomechanics. 2014;13(3):296–306.
- Hayden JA, Ellis J, Ogilvie R, Malmivaara A, van Tulder MW. Exercise therapy for chronic low back pain. Cochrane Database of Systematic Reviews. 2021;9(9):CD009790.
- Strand SL, Hjelm J, Shoepe TC, Fajardo MA. Norms for an isometric muscle endurance test. Journal of Human Kinetics. 2014;40:93–102.
Related reading
- A 3-Day Plan for Your Core, Your Back, and Your Confidence
- Strength Training for Back Pain: How to Build a Stronger, Pain-Free Back
- How to Get Abs: Complete Guide for Men
- Ultimate Back & Core Workout with Dumbbells & TRX
- Postpartum Strength Training Program: A Safe Return to Exercise After Pregnancy
- Plank Get-Up exercise demo
About the author: I’m Will Duru, a personal trainer and the founder of 12REPS. I hold a BSc (Hons) in Sport and Exercise Science and have more than a decade of experience coaching people in strength training.